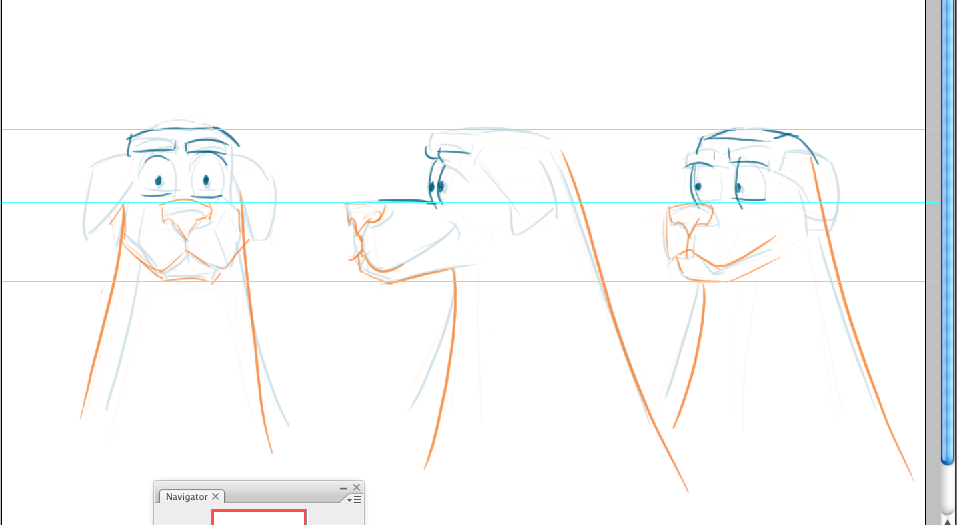
Today i spent about 30 minutes creating this character design. I found it really fun having photo real reference together with a rough ZBrush sculpt i made to start making up a turn around picture. I began not thinking about lining up features but instead trying to sketch in line directions. One advantage of having a rough sculpt in background is to help suggest planes during the design. Later i used Photoshop's guide tools to help line up things roughly. I put markers at base of chin, top of snout, and top of head. With ruler tool it helped to try to fit in eyes.
The reference for this sketch was based on a golden retriever. During this process it felt almost like the designing in 2D was even more technical than 3D sculpting pass because in this stage lines could get really exactly put where we wanted them, in 3D it gets more complicated placing planes exactly where we want especially with the pliability of ZBrush. This process also suggested one way of letting creativity in sculpting come then get refining in 2D for a direction, then back to sculpting to implement the 2D direction in a more precise way (example using Maya to block in planes exactly with reference drawings).
Hope you find these ideas helpful.
Here are some images i made of this process. (im thinking its helpful thinking about this design as completely separate from the initial sculpting doodle and really starting from scratch in order to try to implement it)


Nate